An Intro to Progression Based Models
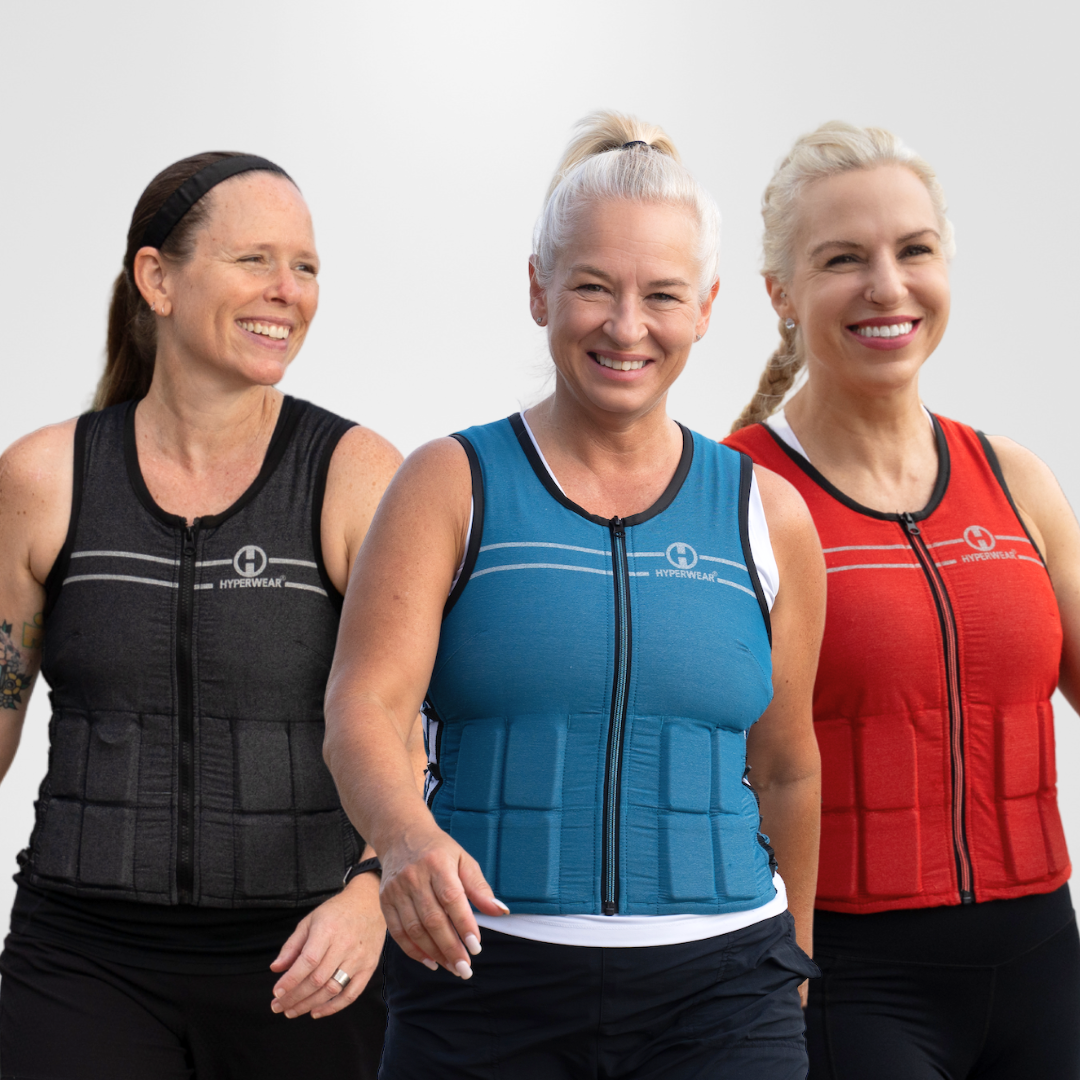
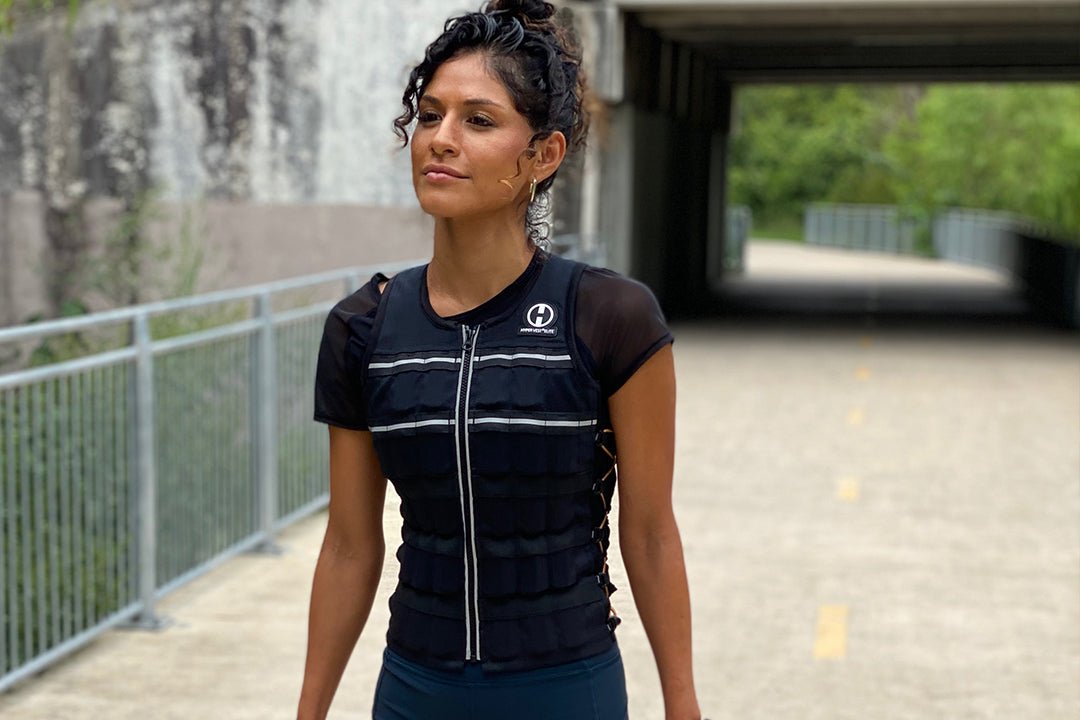
Weighted vests are relatively new to the fitness industry when compared to products such as the barbell. As discussed previously (click to view) most programs are based on linear periodization, which simply means that training programs start with high volume and low weight. Overtime, the two will switch with volume decreasing and weight increasing. Meanwhile there is very little insight into weighted vest progressions. So how do you progress from body weight training to weighted vest training for running?
The 10 Percent Rule
Numerous studies have suggested that weighed vests be about 10 percent of your body weight when working out. This is a recommended load for activities involving movement, as it will challenge the body but not slow it down significantly. However, as with any form of resistance it is not recommended to jump straight into that 10 percent for most people and many may not need to get to 10% of their bodyweight to see enhanced running performance. Just as when you started lifting for the first time, you didn’t immediately throw on as much weight as you could handle for the first set. You progress, slowly adding weight over time. This concept should also be applied with the vest. Start with a smaller percentage of your body weight. Then, as you become accustomed to perhaps just a few pounds slowly increase each week until you get close to 10 percent or your target percentage. This allows your body to become accustomed to the new stimulus without completely taxing the system. Weighted vest training for running should be implemented slowly and carefully so as not to impact gait and stride.

Start with Speed Work
The first step for incorporating progressions into weighed vest training is by doing speed work. With an increased weight, the body should have lower amounts of reps to accommodate. This fits well for speed training, as volume is typically reduced and there are long periods of rest between sets. I found that for me, a 200lb male, a 10lb vest kicked my butt after about five 100 meter sprints. I wrote that down and slowly progressed each week by adding 1 more sprint with the vest on until I could hit ten 100 meter sprints at a reasonable rate.
Deload, Then Progress
Knowing that recommendations wanted me to eventually get to 20lbs, I took the next two weeks to deload my body and only did sprints with my bodyweight. This allowed me to increase my speed, while also letting my body recover. Then I was able to start back over at 5 reps, but with 15lbs in the vest. Although it was still challenging, the two weeks of only body weight made these runs easier. My body had recovered from the previous cycle and was ready for this challenge. I repeated the same strategy of adding a sprint a week until I hit 10. This meant that my next cycle, after 2 months of work, would finally be at the recommended 10 percent.
Adding the Vest into Longer Runs
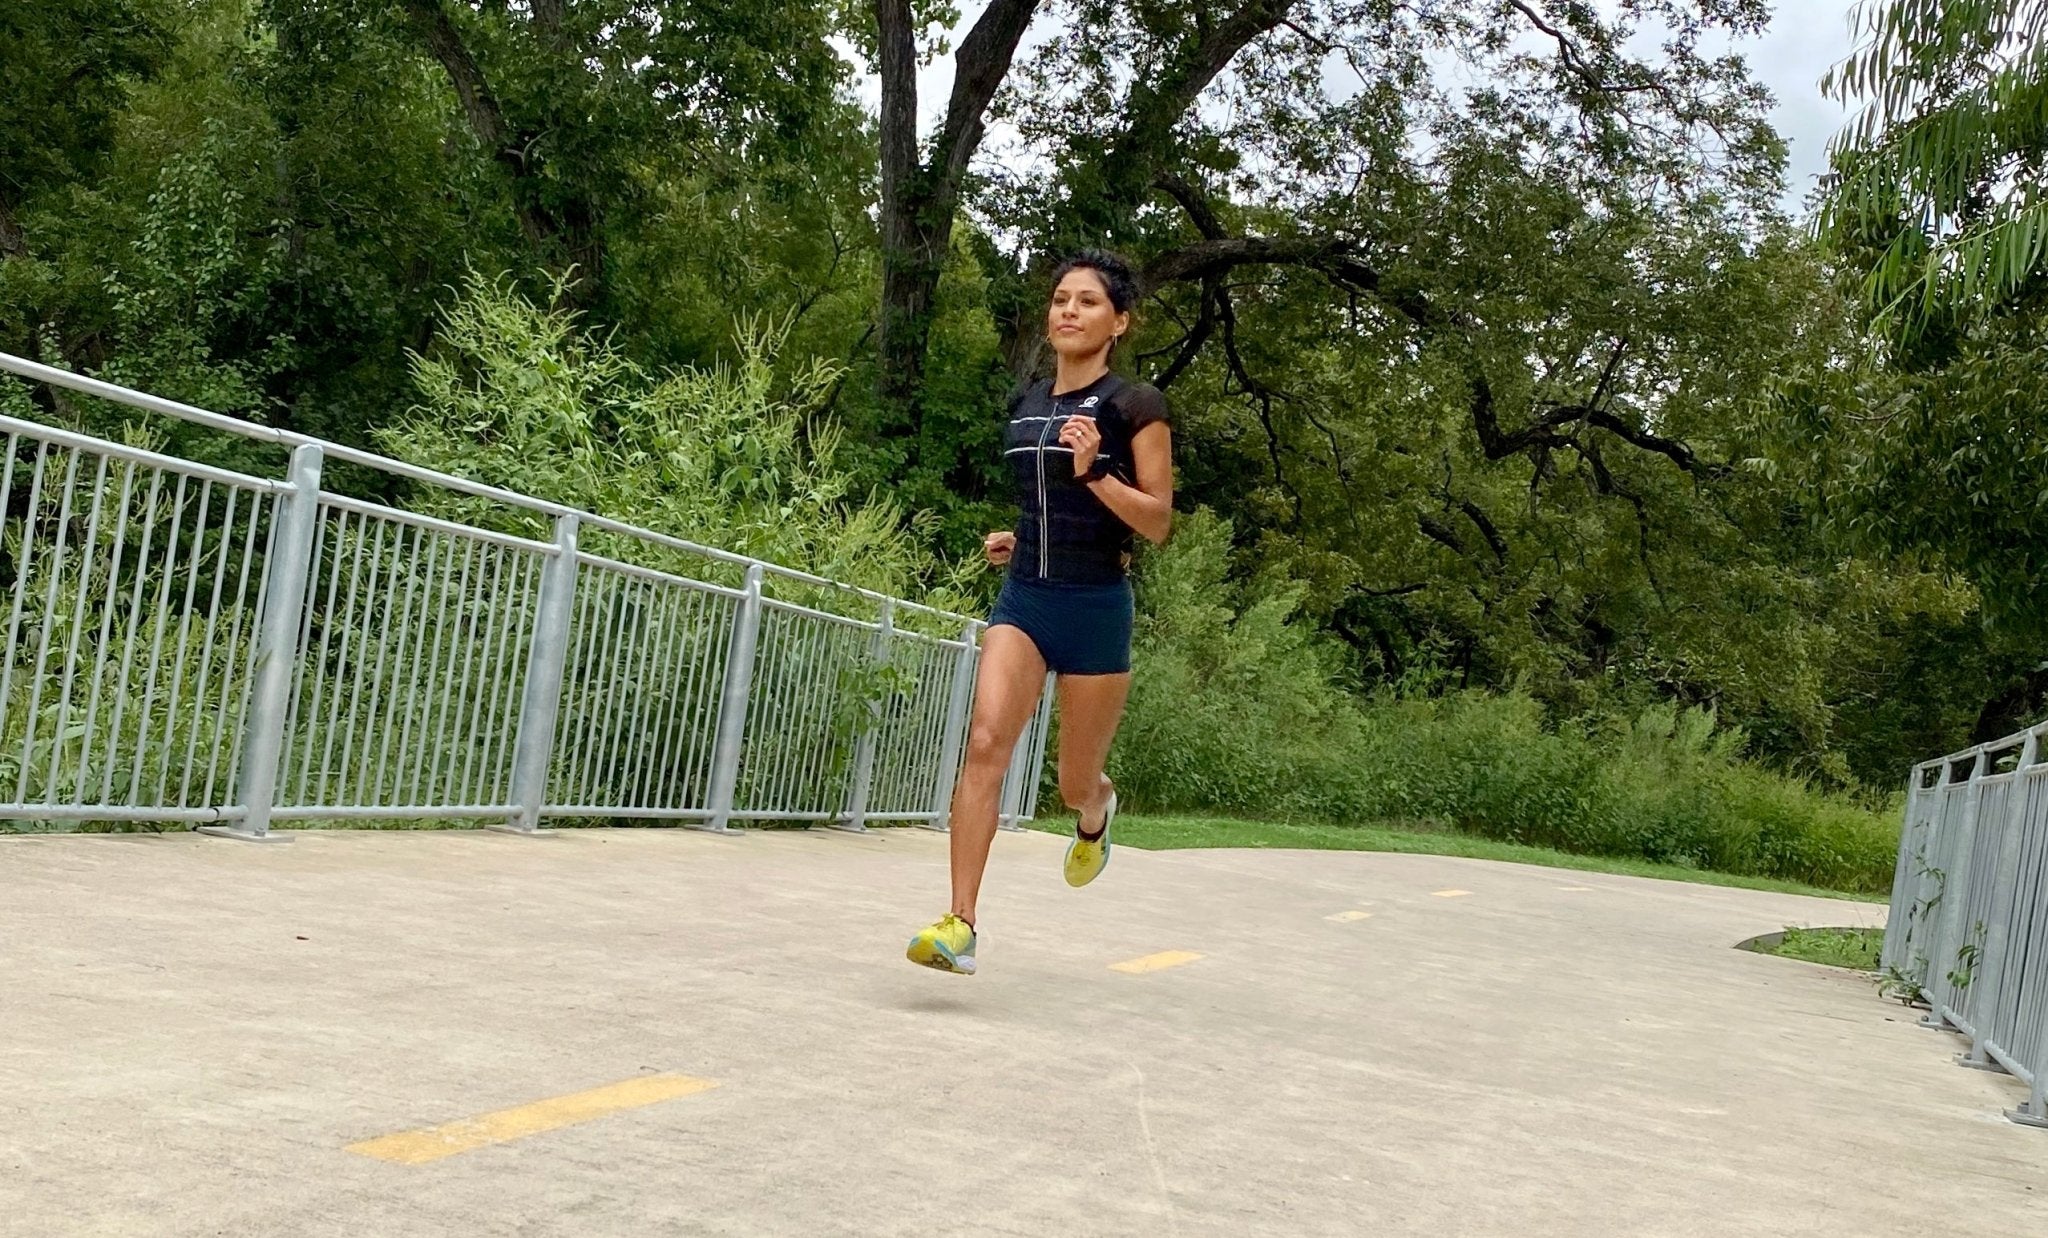
Once accustomed to 20lb weighted vest sprints, I started to explore adding the vest in my longer runs. My end goal was to run 5 miles with the vest on a weekly basis, as I needed an extra challenge. As with sprint training, I didn't start by going straight for my goal. Starting with 10lbs, I worked my way up from 1 mile runs to 5 miles. Repeating the process at both 15lbs and 20lbs I was able to properly progress towards my goal. When I finally hit that goal, I didn't feel exhausted but accomplished. The proper weighted vest approach kept me healthy and progressing.

Words of Wisdom
Make sure to follow a weighted vest training for running progression model when utilizing a vest in your running. Although you are excited to get out and immediately go as hard as you can in your new toy, understand that your body needs time to adjust to the new resistance. By following simple progression models stolen from barbell training, you will keep the body healthy and see improvement. Start slow, keep the weight low and then add to it over time.
Checkout our top 5 weighted strength and mobility moves for runners HERE


